Getting out of the way: my robotics crash course
I don't do robots. I don't do blogs. But here I am blogging on my blog about robotics.
I’m a software guy, I’ve spent 25 years writing software and the last 9+ months going deep into LLM-driven software development. And in that last 9 months I’ve built more software than the previous 25 years combined. My personal GitLab currently hosts 41 projects, most of which are real products that I use regularly or have built for friends and family. As amazing as my LLM-guided software journey has been, it's all started to feel a bit intangible, especially when I'm speaking to anyone non-technical. The notion that we're living in a different world than a year ago seems to be lost on the majority of people I talk to outside of tech.
The people I've most wanted to convince of this shift were my kids. We've tried to do a few video game projects but they clearly want to play the games more than they want to build them, so the returns have been mixed. I've wanted to find something they can see, touch and feel, so I bought a robot arm and hoped for the best.
The arm
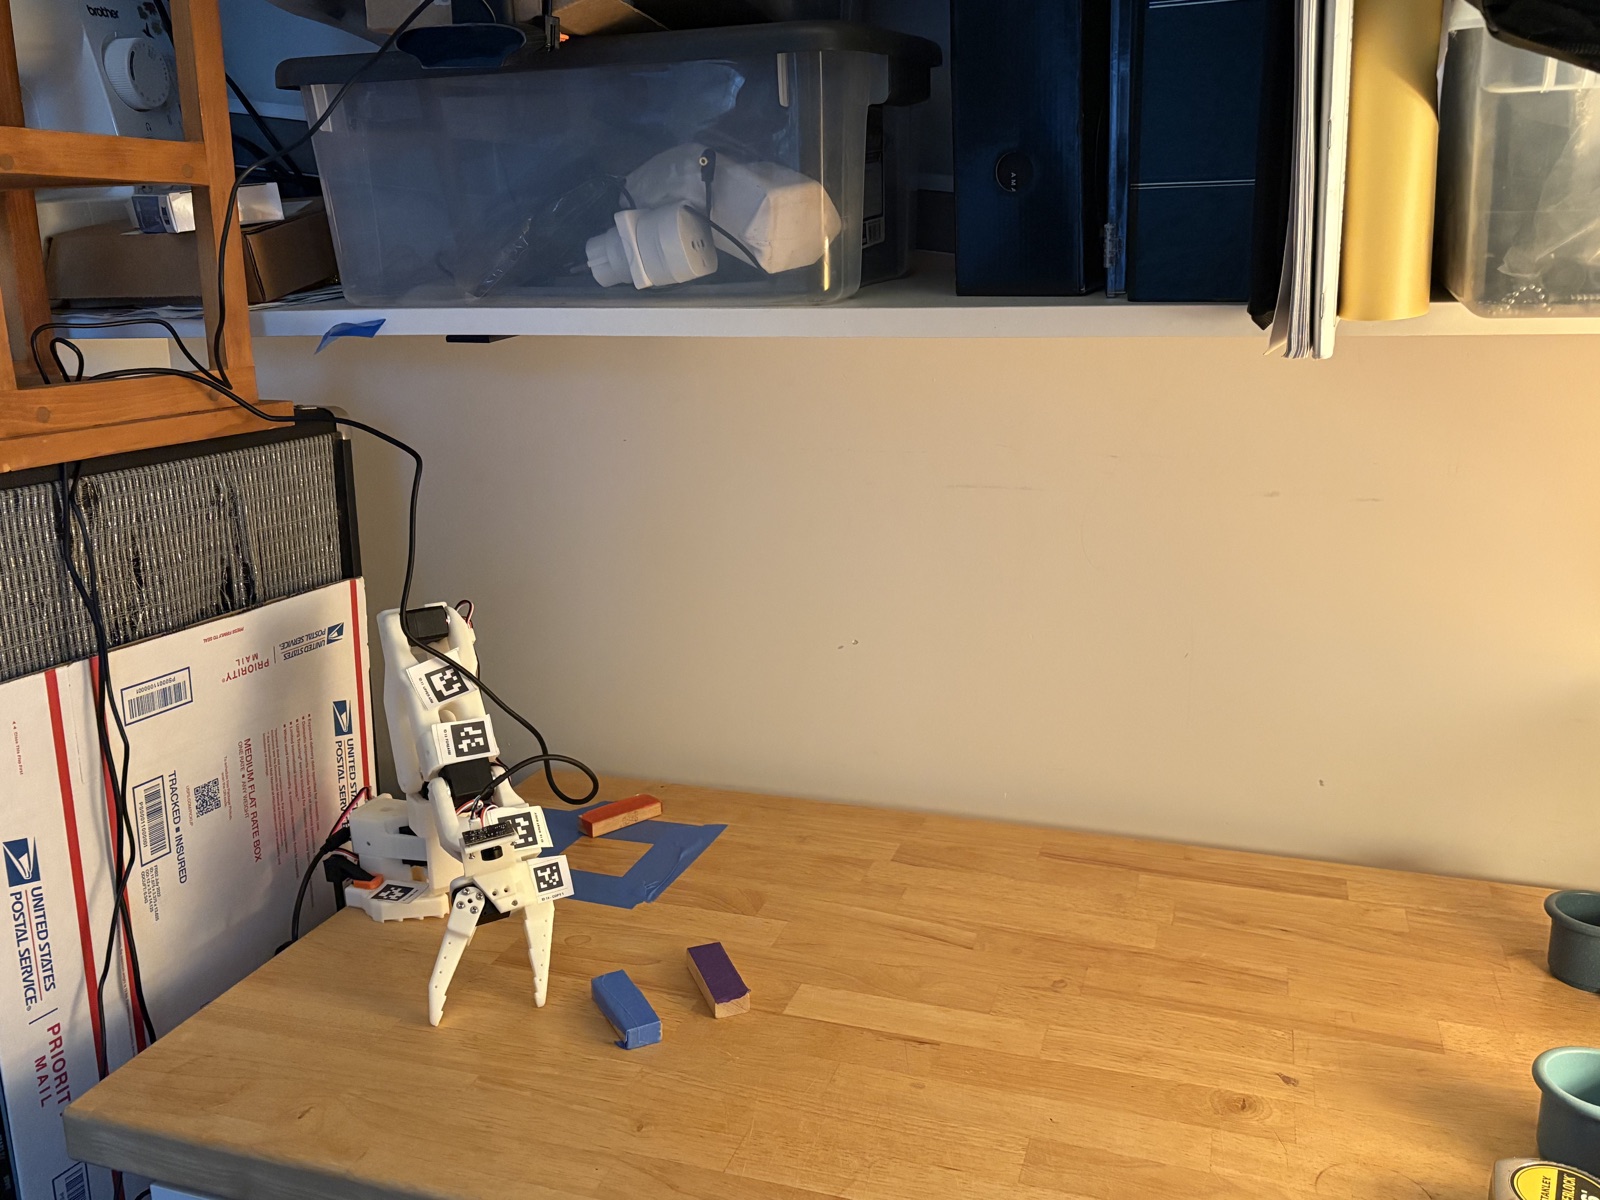
I have limited time to devote to my hobbies, so I took a leap and bought a preassembled 3D printed LeRobot SO-101 kit, batteries included ($415 shipped). I added a $50 webcam to give another point of reference to the LLM , in addition to the wrist mount cam that came packaged with the kit. If you personally have the time and the patience, you can build this setup for a lot cheaper. Especially if you print the 3D parts yourself. But I couldn't be arsed to build the robot myself, at least not until I know I can do something useful with it....
We begin by digging through drawers.
I managed to track down an 8 year-old Raspberry Pi 3 that's been sitting in a drawer for at least 5 years. I found a micro-usb cable and it powered up fine but I needed to flash the SD card with the latest Raspberry Pi OS, since I was 5 major versions out of date. The first few hours, I used Codex to provision the Pi and turn it into the robotics controller and webcam interface. It downloaded and installed the necessary control software from the LeRobot project and basics like python and other dev tools. I also built a quick web dashboard to observe the camera views and eventually provide a control mechanism to the robot arm.
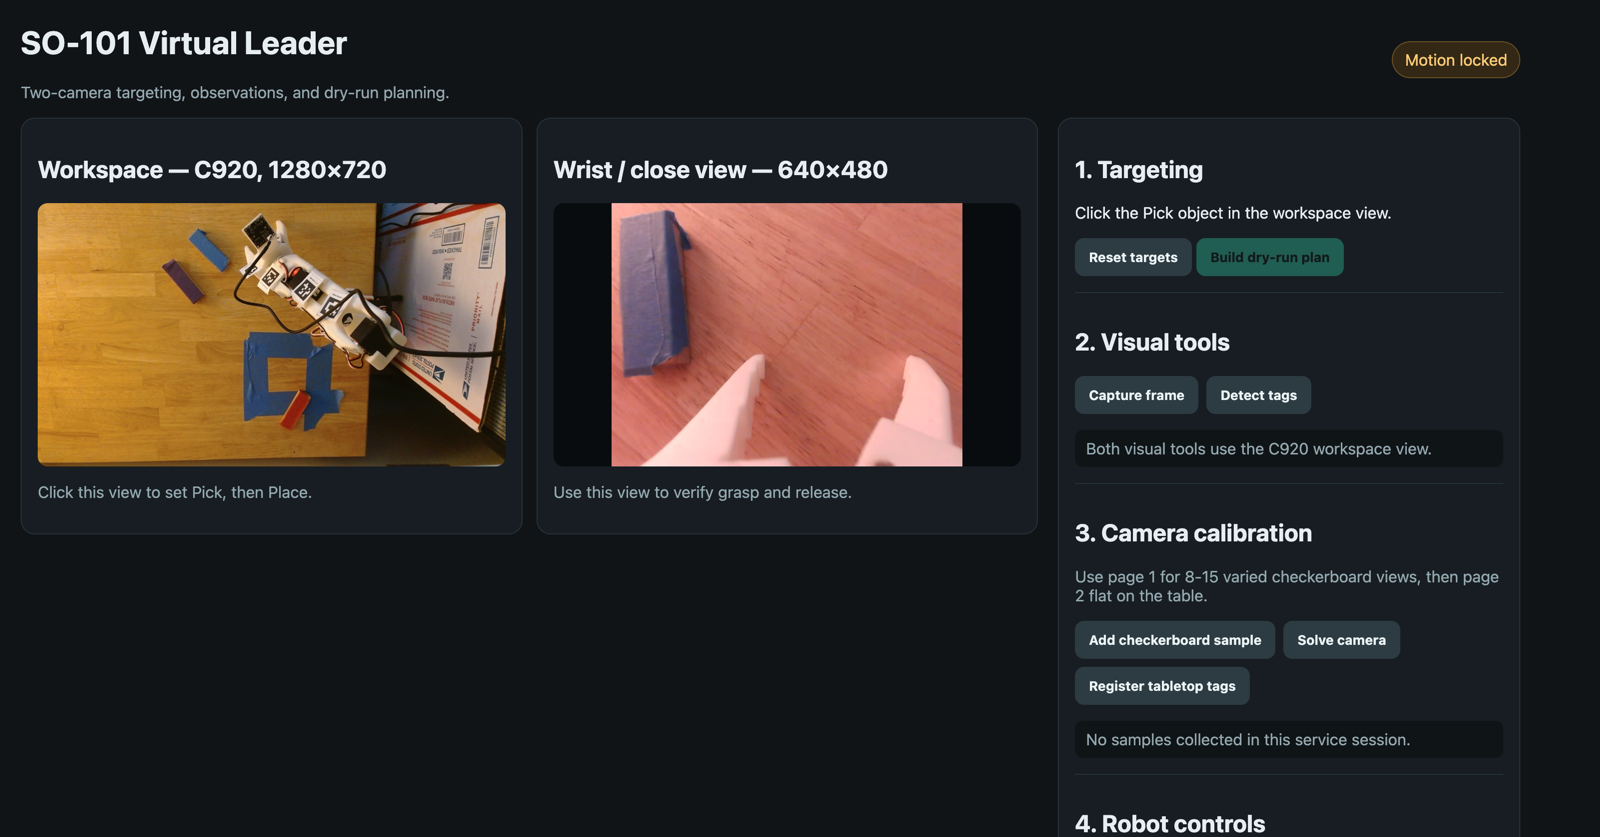
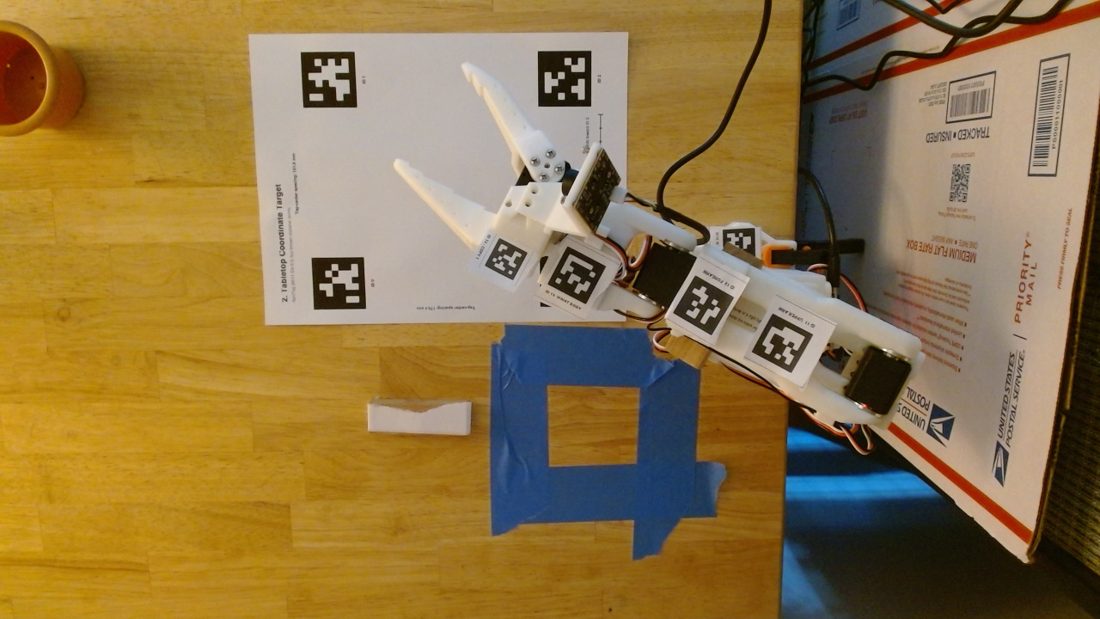
With Codex(Astra) at the wheel, most of the foundation was built around starting small and proceeding cautiously. A great deal of time was spent writing software to protect the servos and ensure that any detected overloads would cut torque and power so we wouldn't damage the robot or anything else. We started with really small movements and calibration using printed AprilTags(QR like codes). We also "AprilTagged" the servos joints on the robot so the camera could easily identify them.
The first real problem was that the serial link dropped, but only while motors were moving. We found a few bugs in the code but we also identified a possible power problem. Our power supply was sufficient to power a single servo at at time but not to power all the servos at once. I purchased a new power supply but until that arrived in the mail we would need to power only a single servo at a time while moving the arm.
At this time, I had spent a lot of time (and tokens) calibrating and building the software to run the rest of the experiments, I eventually used up all of my weekly Codex credits and decided to switch over to Fable 5.1 so I could continue working and not burn tokens at API rates. One thing I really liked about this handoff, from Codex to Claude, is the ability to share your full ChatGPT chat with another person or LLM so they can build their own context from the full chat log and not a summary.
Calibration and Spatial Mapping: a great idea in theory, but not so much in practice.
Now using Fable, and with basic foundations of motion and spatial awareness in place, I went back to the plan: let the LLM map the space using calibrated runs and use inverse kinematics to calculate the actions and execute the plan. Initially I was asked to put the robot into certain poses and then measure the height of the pinch point and the distance from base. This seemed to be making progress towards calibration but once we attempted to actually execute movements they were way off and it was clear that no feedback from the camera was being used to adjust the robot to the observed locations from the calculated ones.
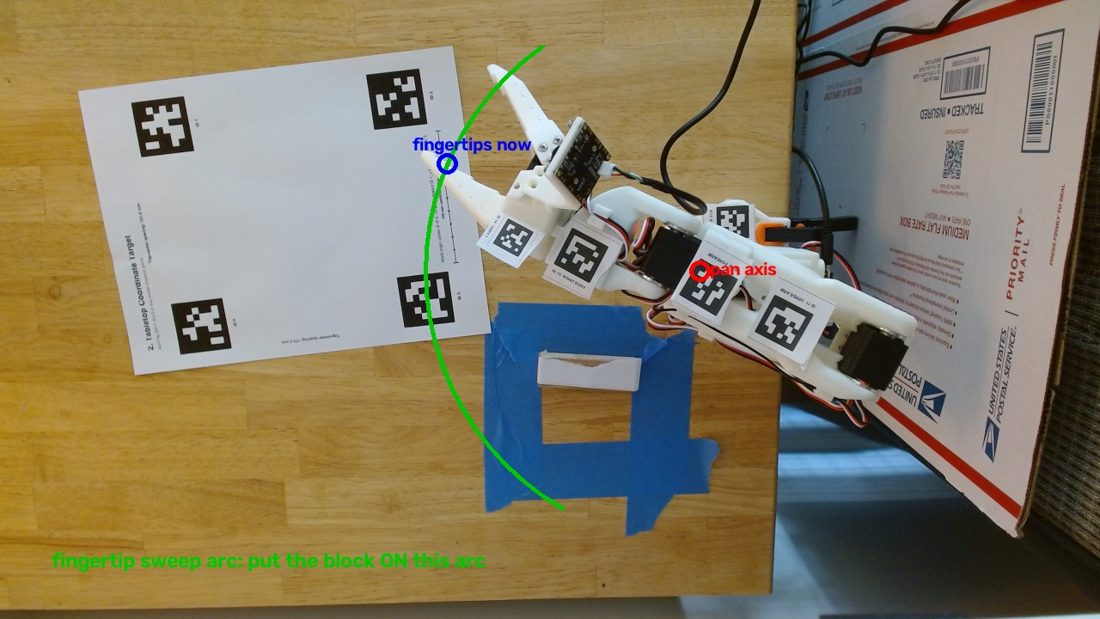
Still I wasn't ready to give up on this approach so I let it take a few more attempts. Similar results occurred and I began to ask myself how I could remove myself from this effort and let the LLM do more of the work. I decided it was time to take myself out of the equation...
Removing the meat proxy
I had to step away for a few hours to coach my daughter's volleyball practice, so it was a perfect time to remove myself as the primary roadblock. On the way to practice, I used /remote-control to ask Claude to take a different approach, I left Claude with this prompt:
Is it possible to zero out the gripper on the table and stop the servo when it encounters resistance and then using that as the zero point? a similar approach could be used to guess and check the location of the block. We should also be using the camera to determine correct location and adding resistance feedback rather than constantly stopping and measuring. The goal is to pick up the block and drop it in a marked location, let's focus on that rather than calibrating and mapping the space.
While I was at practice, Claude continued to test the resistance and stop mechanisms to calculate zero level. It built the feedback loop between the camera and the robot arm using resistance measurements and used both the overhead camera and the wrist camera to provide feedback during pick and place operations. When I got back to my desk, I asked Claude to use the robot arm to find the block and attempt to grip it. It started by pressing the gripper far too aggressively against the table. It was nearly hard enough to unseat the robot from the clamps holding it to the table. Luckily, it stopped before any damage was done to the robot or the table. The LLM then immediately identified the miscalculation and adjusted the software to prevent it from happening again. Without any input from me...
Blue and red and purple pills(ok...blocks)
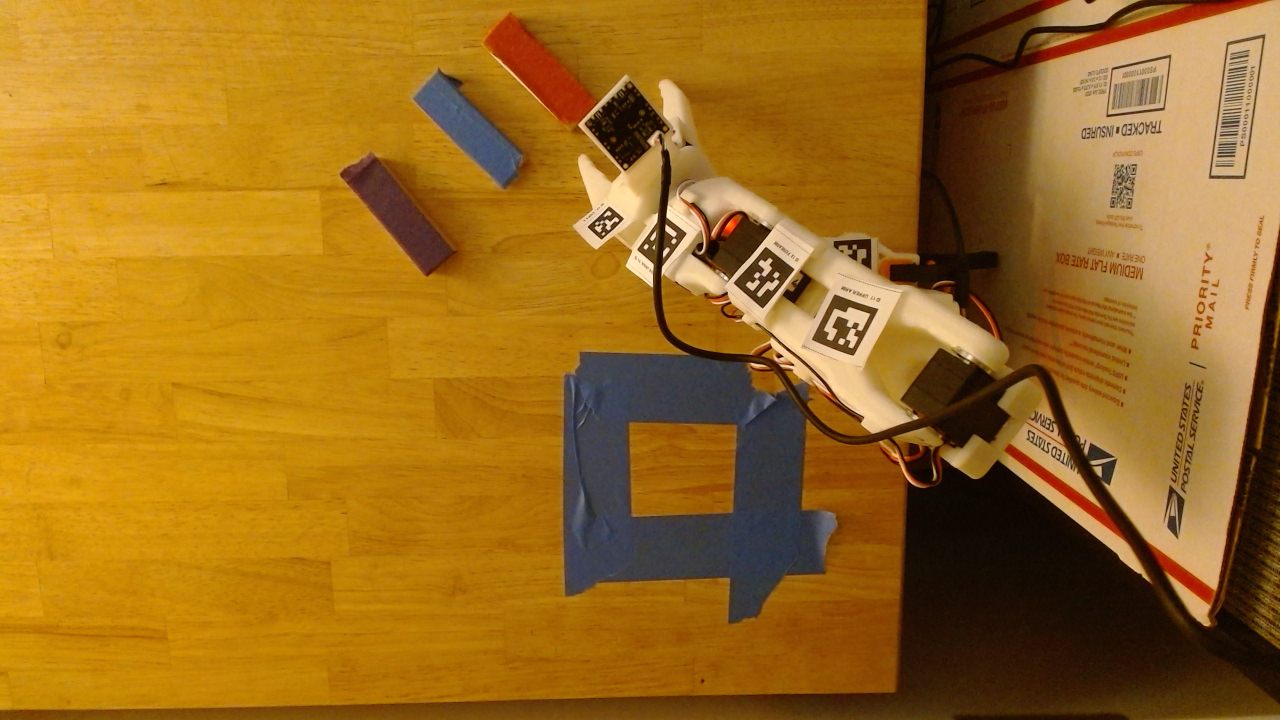
Early on in the process, I had added white tape to the test block in order to increase contrast against the table. The tape was ripped slightly and did not terminate cleanly at the end of the block(see figure 3). This issue made it difficult for the LLM to see the block edge and the grip was failing because it couldn't determine grip width. I removed the ripped white tape and replaced it with red masking tape to make it stand out from the table and the arms. By the time I was ready for bed I had just about seen a successful grip occur but it was clunky and not working consistently. I decided to go to bed and leave the LLM with a real challenge, I added two more blocks (one with blue and one with purple tape) and put them both in the "pick" area next to the red block. Here's the final prompt I left Claude with before going to bed.
I’ve added a purple and blue block, your new goal is to place the purple, red and blue blocks within the blue marked tape drop area. The workspace shall remain clear and there’s no need to prompt me to ask if it’s clear before continuing - please continue working until the goal is complete
Waking up to a pleasant surprise:
I woke up to find all the blocks in the taped-off placement area: they weren't perfectly aligned or neatly placed but they were all there! I was pleasantly surprised but also deeply disappointed in myself for not having put in place a way to review the process to see how it unfolded. I was reading back through the chat log and notes and noticed that Claude was posting screenshots at regular intervals throughout the session. I wondered if those were still in the workspace somewhere... Since my Codex usage credits were restored I decided to jump back there so as not to muddy up my Fable training context. I then had Codex track down all the screen grabs that were available in the workspace. When I saw how many there were I asked it to create a time lapse video from the stills and the results were far better than I imagined.
Using some of my previously written software, I had Codex upload the video to my Youtube channel and here’s the result.
What’s next - VLAs and Jenga Towers.
I told my kids they could watch a YouTube video about our robot and they were very pumped. This is not strong evidence because they get excited about being able to watch anything on YouTube. My youngest daughter did comment that “It’s doing so much better!” so for now I’m calling it a win.
So far we’ve been getting really impressive results with LLMs, much better than I expected (they are not supposed to be good at this). But the correct tool here is to use VLAs so the plan is to convert this LLM training into VLA training data and see what sort of speed and cost improvements we can achieve. Once we have that round trip working, the next goal is to build a Jenga tower (shooting for at least 6 or so levels). If you’re interested in seeing more of the journey here, please keep an eye on my blog or substack for updates.